Self hosting using Dokploy
Dokploy is an open-source, self-hosted platform that simplifies deploying and managing applications on your own VPS. Think of it as a lightweight Heroku or Render that you run on hardware you control. It uses Traefik as a reverse proxy and supports Docker-based deployments, making it a great fit for containerized apps.
In this post, I’ll walk through how I deployed my app on a Hetzner VPS using Dokploy, with the Docker image stored in GitHub Container Registry.
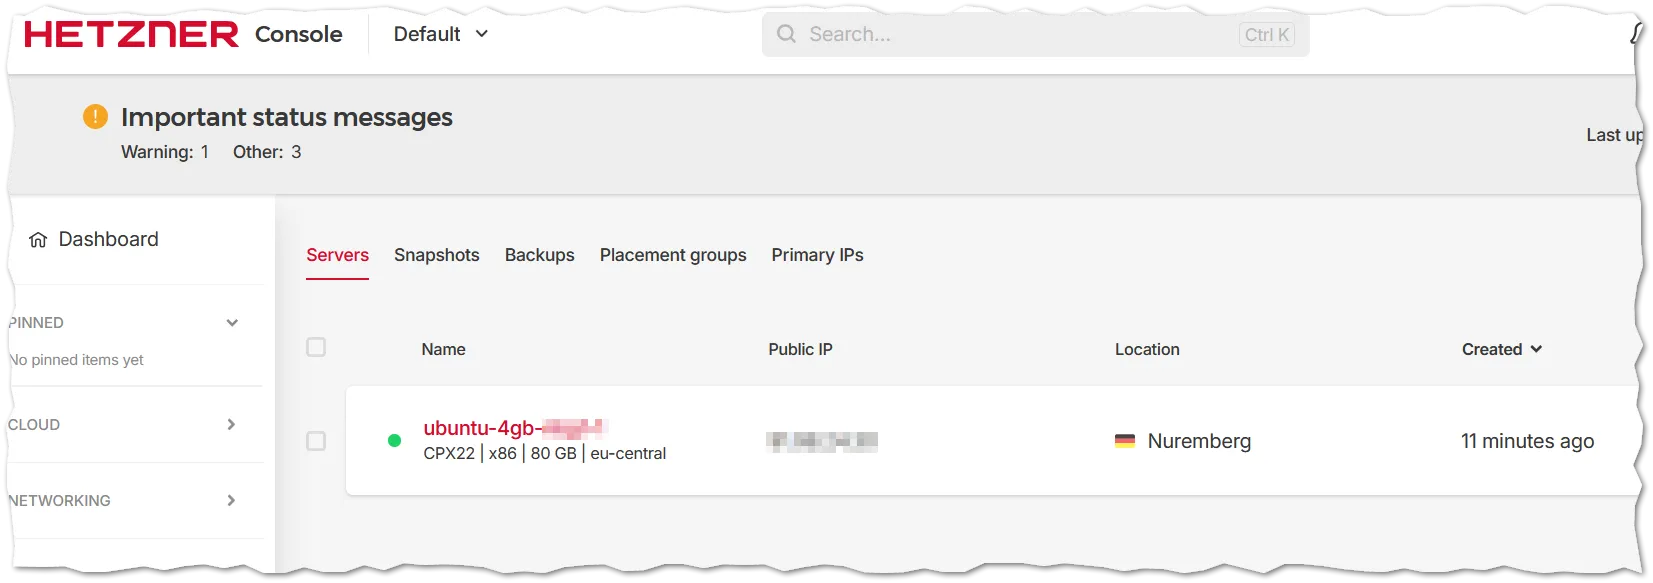
1. Create a VPS on Hetzner
I created a new VPS on Hetzner Cloud. During setup, I attached my SSH public key so I could log in without a password.
Once the server is ready, SSH in:
ssh root@YOUR_SERVER_IP
2. Open the required ports
Dokploy relies on Traefik to handle incoming traffic. Before installing, make sure the following ports are open on your server’s firewall:
| Port | Purpose |
|---|---|
| 80 | HTTP traffic (Traefik) |
| 443 | HTTPS traffic (Traefik) |
| 3000 | Dokploy web interface |
To check which ports are currently listening:
netstat -lntu
The flags mean: -l list listening sockets, -n show port numbers, -t TCP, -u UDP.
Open the ports using ufw:
sudo ufw allow 80
sudo ufw allow 443
sudo ufw allow 3000
sudo ufw enable
3. Install Dokploy
Run the official install script:
curl -sSL https://dokploy.com/install.sh | sh
The installer sets up Docker, Traefik, and the Dokploy service. Once it finishes, it prints the URL to access the dashboard - usually http://YOUR_SERVER_IP:3000.
Open that URL in your browser and set a strong password when prompted on the first-run screen.
4. Point your domain to the server
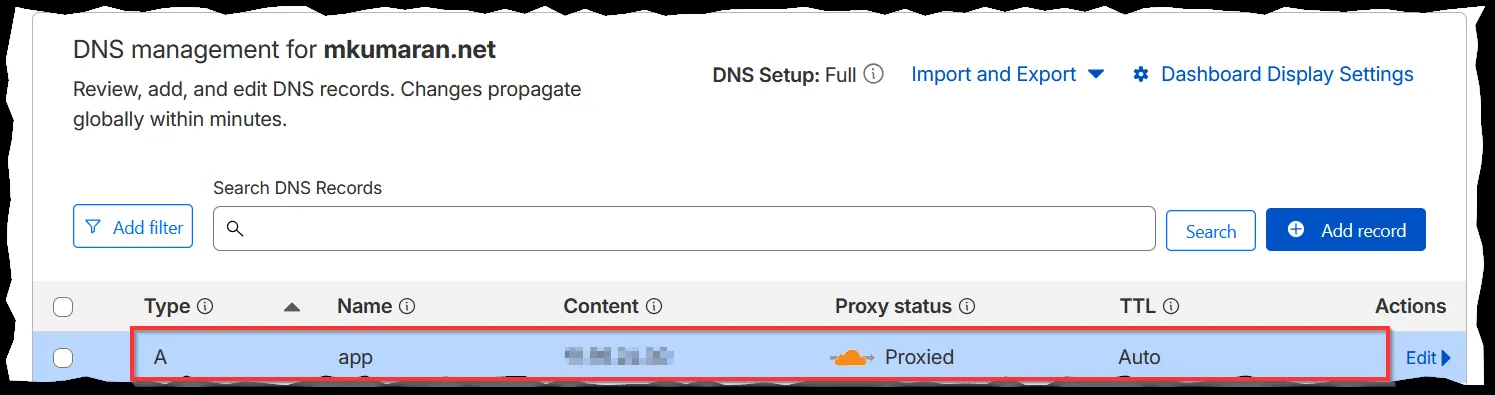
Before setting up anything in Dokploy, update your DNS so the domain resolves to your VPS IP. I’m using Cloudflare for DNS management.
In the Cloudflare dashboard, add an A record pointing your domain (e.g., app.mkumaran.net) to your server’s public IP address.
Dokploy also has a detailed guide for Cloudflare-specific setup in their documentation.
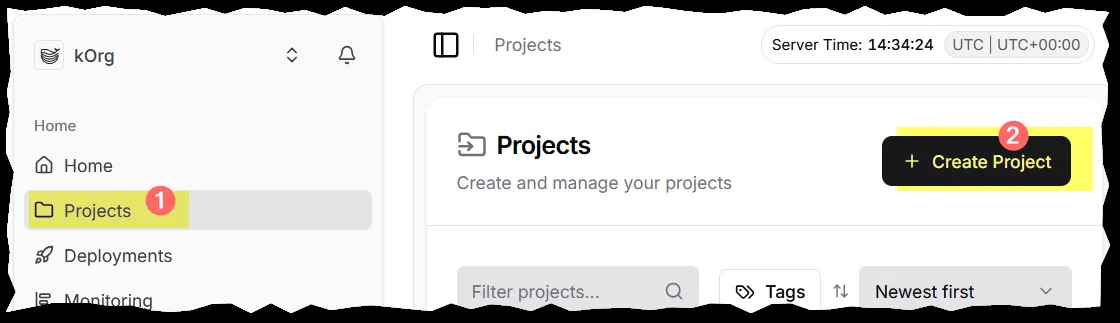
5. Create a project and service in Dokploy
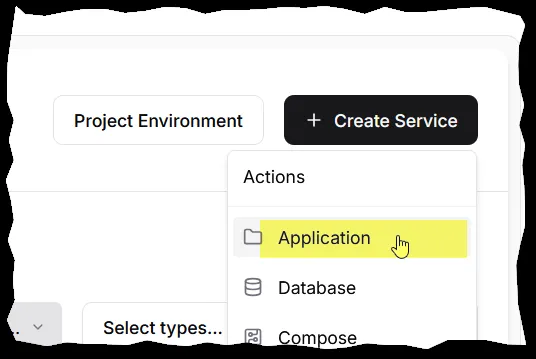
In the Dokploy dashboard, create a new project:
Then add a new service inside the project. Since I’m deploying a Docker image, I chose the Docker deployment type:
6. Configure the container registry
My Docker image is built via GitHub Actions and pushed to GitHub Container Registry (GHCR). To let Dokploy pull from GHCR, I needed to provide credentials.
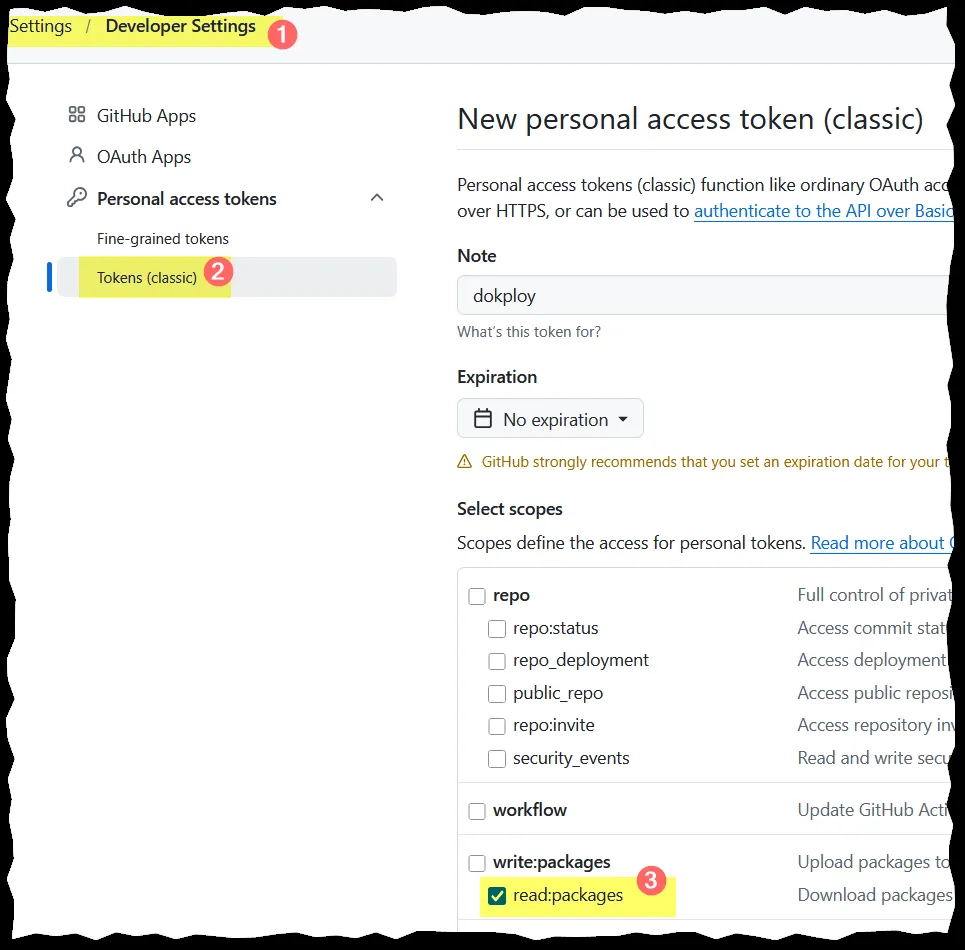
First, generate a classic personal access token on GitHub with the read:packages permission:
In the Dokploy service settings, go to the Registry section and fill in:
- Registry URL:
ghcr.io - Username: your GitHub username
- Password: the personal access token you just created
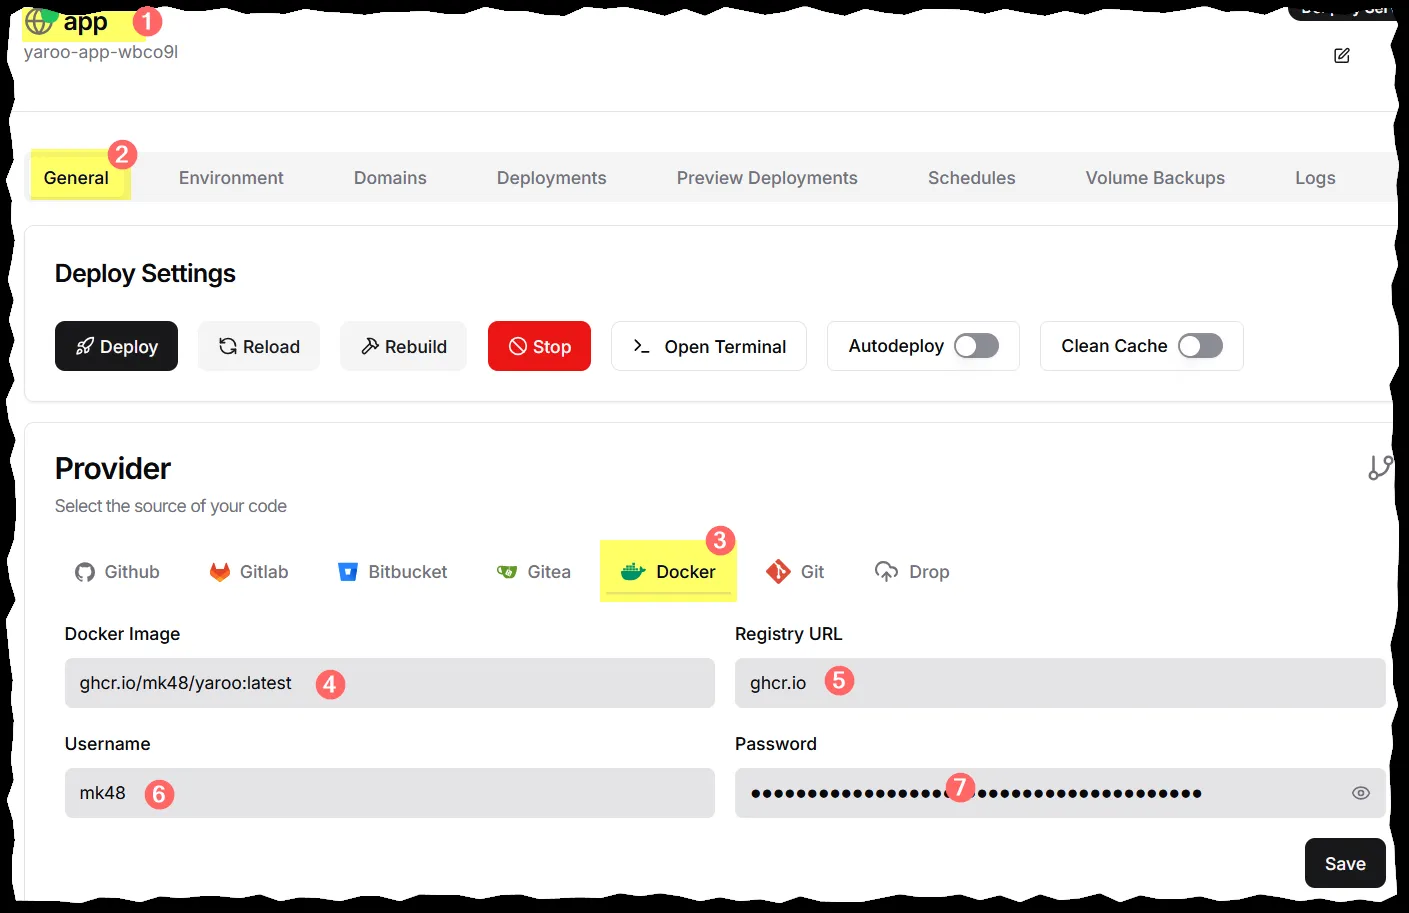
Enter your full image name (e.g., ghcr.io/your-username/your-app:latest) and click Deploy. Dokploy will pull the image and start the container.
7. Link the domain to the service
In the service page, go to the Domains tab and click Add Domain. Fill in:
| Field | Value |
|---|---|
| Host | app.mkumaran.net |
| Path | / |
| Container Port | 8080 (the port your app listens on inside the container) |
| HTTPS | enabled |
| Certificate | None (Cloudflare handles TLS termination) |
Setting the certificate provider to None works here because Cloudflare acts as a TLS terminator in front of the server - the traffic between Cloudflare and your VPS can stay on HTTP internally.
Your app is now live. Navigate to your domain and it should be served through Dokploy and Traefik, with TLS handled by Cloudflare.